Showing posts with label Valentine Gift. Show all posts

Wednesday, February 15, 2012

A Valentine's Party!

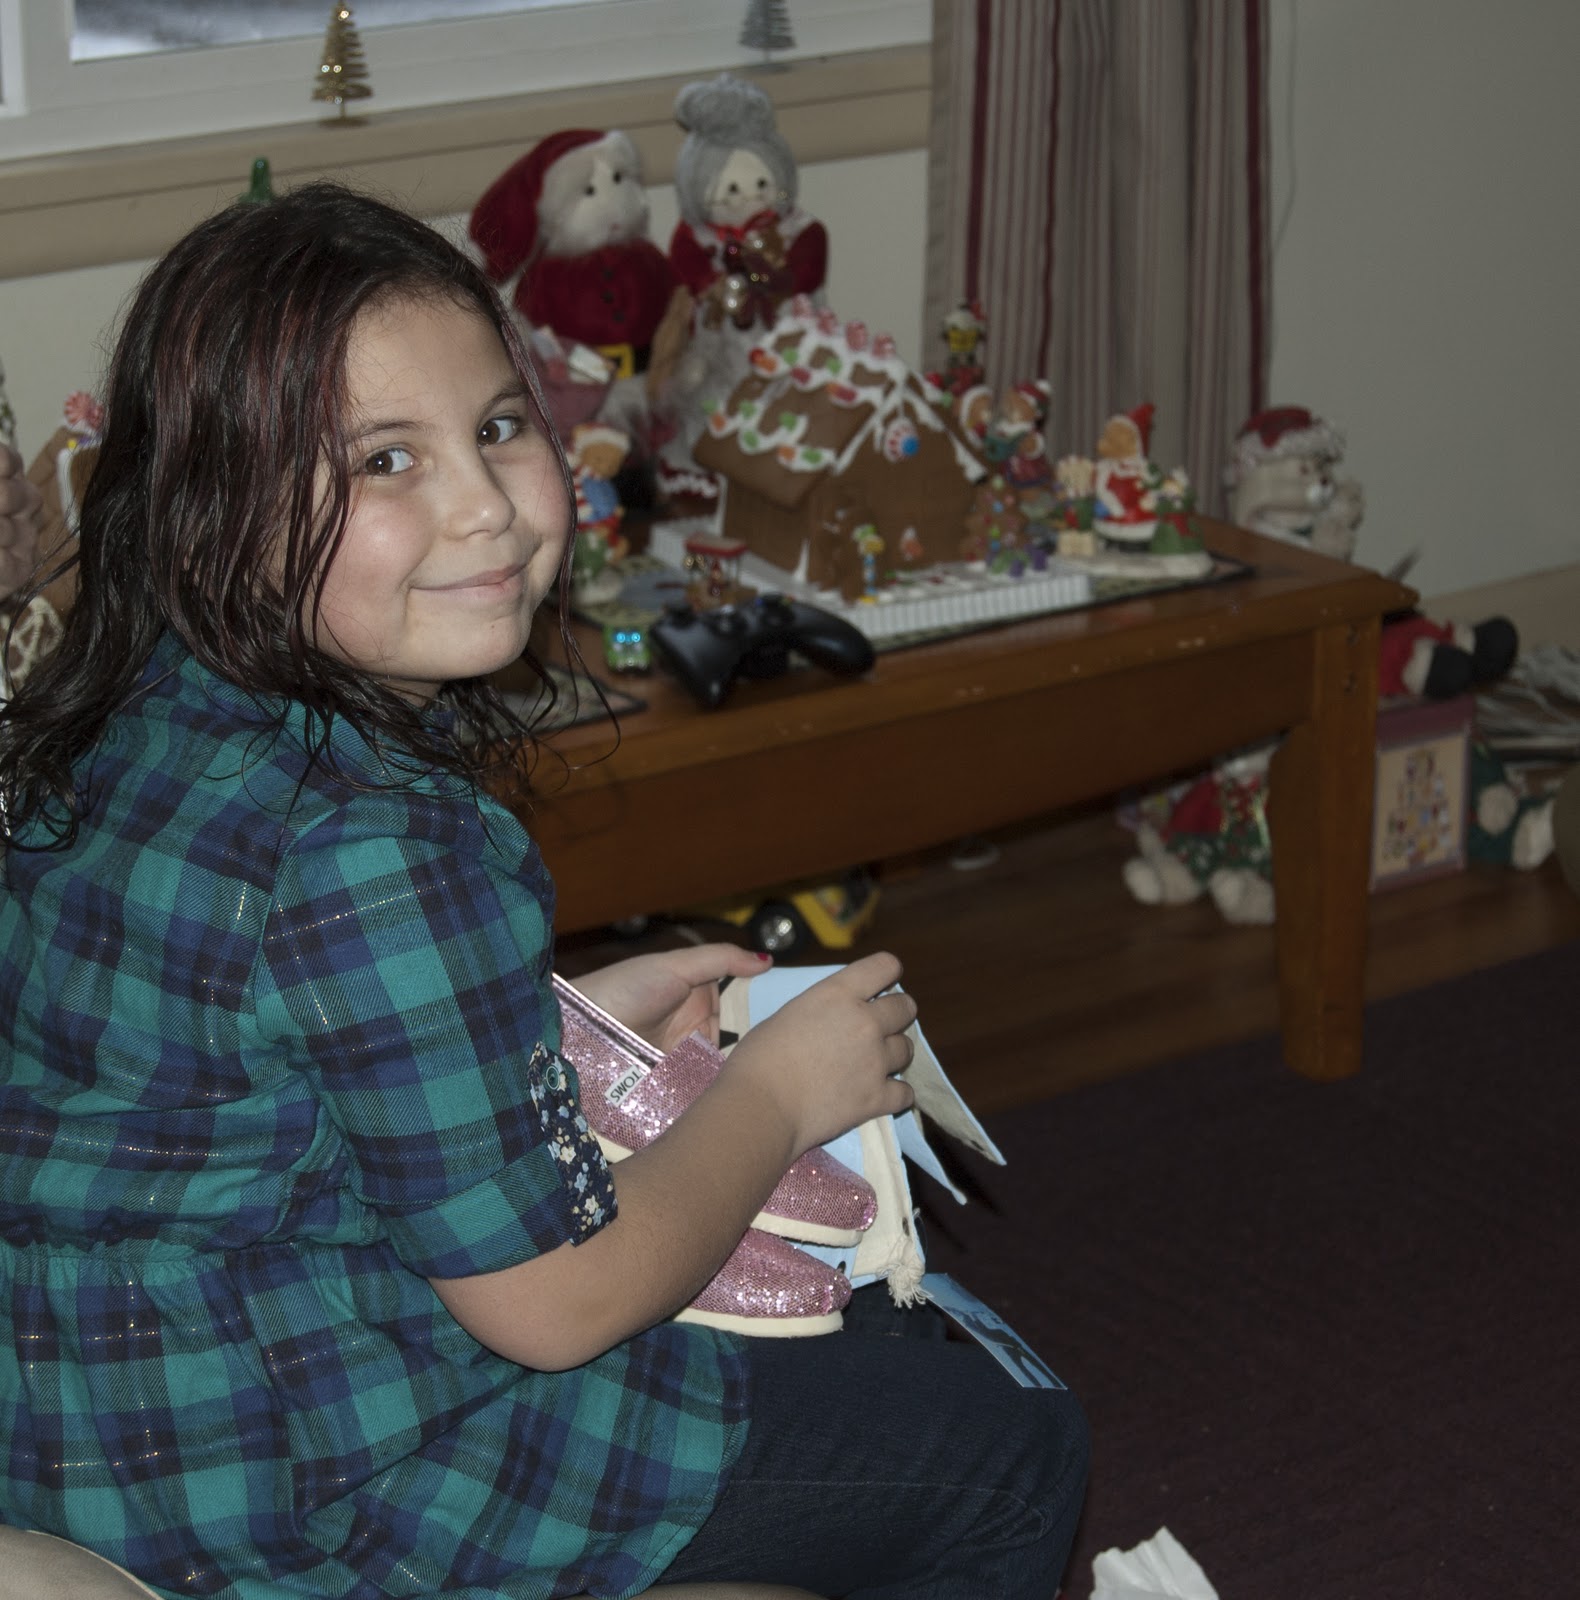
My sweet niece (and her mom & dad) moved so close to me that I get to craft with her! I am so happy she is here! I was even more excited that I had someone to make Valentine cards with.

Well little did I know that in the few short years that my own children have been out of elementary school that things have changed! She had to make 36 handmade (YEAH!) cards or gifts and she had to write a sweet little one liner about each person she was giving a gift too.

I just loved it, of course I gave her 3 projects varying in difficulty and she picks the hardest one :) Here she is with her great little projects!


This project was made the Big Shot Milk carton die, if you are interested in the directions please leave me a comment and I will email them to you!

Also be sure to check out my online store HERE to get on the fantastic Sale-A-Bration promotion going on now.

Have a great day and happy stampin!

Saturday, January 21, 2012

Sending love your way!

Each month I have the pleasure of getting together with a very crafty bunch of ladies and we swap our crafty creations with each other. It is something that I look forward to every month for several reasons.
  1. Female interactions. No offense to my husband or son but sometimes it is nice to hang out with other ladies who love to craft. Another downfall of your only daughter going off to University!
  2. We can appreciate the time and effort it took to create our works of art.
  3. It gives me the opportunity to get inspiration! Sure there is the internet but there really isn't anything better then holding crafts in your hand.
I could go on and on but I won't ;-) Here is one of those swaps I received. I just love this card. It is great for the beginner card maker or the experienced. It looks harder than it really is!


Here is your shopping list for this wonderful card!

If you have any questions on how to put this card together just leave me a comment and I will answer as best as I can! Thanks for stopping buy today. Enjoy your weekend!

Friday, January 20, 2012

Countdown to Valentines Day is on.

I do know there are other holidays but I happen to love Valentine’s Day. I think it is because I associate the holiday with super bright and wonderful colors. You see I am not much of a pink wearing girl but I LOVE it on my cards and in my crafts! Here is a cute and very easy project that you can create with your kiddos or even to give out to your co-workers! Because don't we all love presents and candies :)


Here is what you will need to put these cuties together!

  1. Cut the blushing bride to 4 1/2 x 8 1/2
  2. Score on the 8 1/2 side at 2 1/4
  3. Using the stamping off technique, stamps hearts all over the top "Flap" of the Blushing Bride paper.
  4. Cut the Latest Edition paper 4 1/4 x 4 1/2 attach to the blushing bride. Make sure you attach this piece towards the end of the blushing bride. (Remember you will be folding the "flap" over).
  5. Fill the Cellophane bag with your candies and close the bag!
  6. Attach the bag to the card base using a stapler.
  7. Tie your ribbon around the edge; make sure you cover the staple :-)
  8. Stamp your sentiment and cut it out using the Jewelry Tag punch. Attach with twine.
That it! How quick and easy is this craft? I hope you enjoy make your projects. As always if you have any questions please let me know!

Thursday, January 19, 2012

A round box?

Well here we have another super fun holiday coming up and if I had small children I would be helping them create handmade Valentines for their school parties. But my children are both grown and I think if I mentioned that I wanted to make them for their classmates they might check me into an institution. Well it just so happens that my beautiful niece Abigale moved over here a late last year (that's weird to say isn't it?) and she is just the right age!! Her class will be having a party and she wants to make her projects with me :) 

Here is one project I came up with. There will be more to come for sure :-) 


So yes I made a round box! I used our wonderful Milk Carton Die for the Big Shot. How cute is this little box :) 

Here are a few more photos of each side. I just love it!!


There is a little trick to putting this little box together, if you can;t figure it out leave me a comment and I will get you the instructions.

Here is the shopping list as well!
Here's to a happy and crafty holiday!

Tuesday, January 17, 2012

Valentine Goodie Box

Now that I have some time to concentrate on a super fun holiday I am excited to show you this cute little box. I just love love love the rose on top of the box. I can't take credit for it though a very crafty Stampin' Up! Demo Laura Haffke created the tutorial that I followed. She did such a wonderful job.

Here is the finished box; I can't wait to give it to my daughter! Yellow roses are her favorite!


Here is what you need:
33 So Saffron Ornament's from the Ornament Punch,
Tangerine Tango Stamp Pad
Stampin Sponge
Sticky Strip
Small Tag Punch
Grateful Greetinga stamp Set
1/4 Grossgrain Daffodil Delight Ribbon
Kraft Gift Box

Here is the Shopping List

Punch out 33 Ornaments from the So Saffron card Stock, Fold one side over using your Bone Folder. There are 5 Layers to this rose. 
layer 1 - 14 petals
layer 2 - 9 petals
layer 3 - 5 petals
layer 4 - 3 petals
Layer 5 - 2 petals rolled all the way up.
Base - Scallop Circle covered with Sticky Strip


Attach your petals according the photos:
Layer 1

Layer 2 -
Tip: Fold the top of the ornament so it "sits" on the base

Layer 3

Layer 4
Tip: Add more sticky strip before applying this layer & the next one.

Layer 5


 Final Product, isn;t it just the cutest thing!

Here is what else is included in this great stamp set, it covers all holidays. A definite must in my arsenal!

Please let me know if you have any questions or need help getting the flower put together. I am happy to pass on my lessons learned!